
How to Make Emoji Art That Stays Recognizable
Learn how to make emoji art from a photo: plan the crop, compare one change at a time, check the picture at its final size, and save a shareable PNG.
Last updated: 2026-09-11
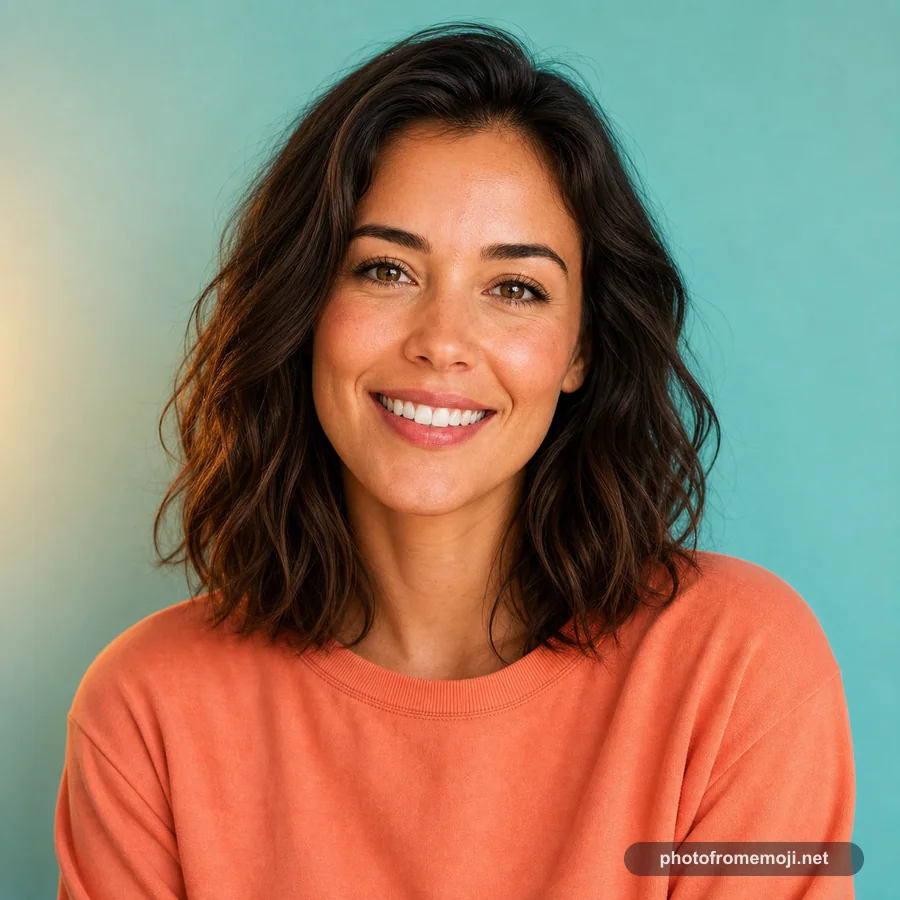
Start with a photo whose main subject is easy to recognize, generate one reference version, and judge it at the size where you will use it. Open the generator to begin, or use the portrait from this exercise.
Source photo
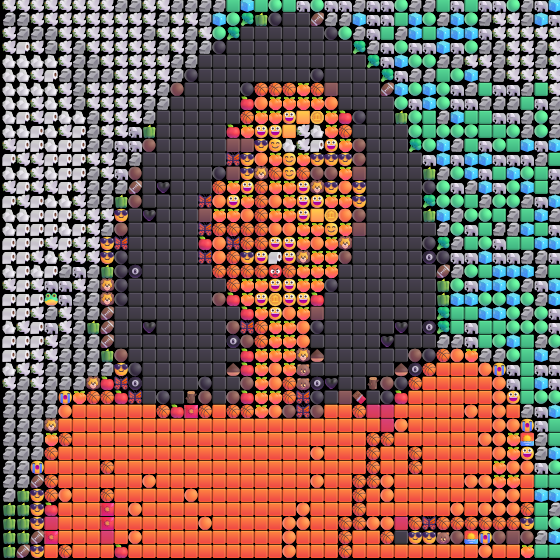
Finished artwork
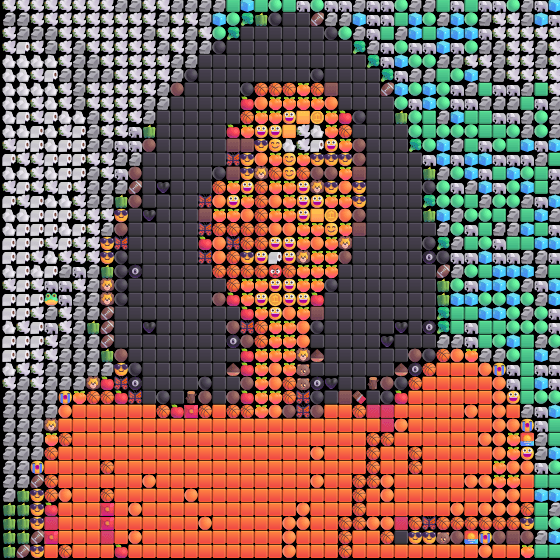
Center detail, 2.5x
1. Decide where the picture will appear
An avatar needs a face that survives a small crop. A larger post can show both the full subject and the individual symbols. Decide which matters before choosing the photo; a beautiful large preview can lose its expression when reduced to a small circle.
For this portrait, the dark hair and orange shirt form strong areas around the face. When checking a small version, look for those shapes first. Then check whether the eyes and smile still suggest the expression you intended.
2. Give the subject enough room
Make a copy of your source in your phone's photo editor. Crop away unrelated objects while leaving enough space for hair, ears, or the corners of a circular avatar. The generator keeps the uploaded proportions; it does not crop a square or detect faces for you.
Before uploading, look at the original as a small thumbnail. If its subject is already hard to identify, a mosaic is unlikely to repair it. Try a closer or more evenly lit image. For specific subjects, see the portrait guide or pet photo guide.
3. Save a reference version
Choose your file and let the automatic generation finish. Start with High detail (recommended) and Grid, then download that first version. A saved reference lets you compare later experiments without relying on memory.
The compact generator's recommended settings use analysis window 2 and output emoji size 7. The illustration above uses the recorded quick settings 4 and 14. To try that starting point, restore the recommended settings, then select Quick preview. Different emoji fonts can change a fresh rendering.
For help finding controls or saving a file on your phone, use the step-by-step photo conversion walkthrough.
4. Change one thing and compare
Choose one problem to solve. If the face is lost in the background, change the source crop. If the overall picture reads well but the surface feels too dense, compare Grid with Texture. If broad color areas seem weak, try Chart and inspect the colored cells.
Keep the preview width the same. Use Analysis window for a sampling experiment; use Output emoji size for exported tile size. A larger PNG is not evidence of extra detail. The emoji pixel art guide explains the grid and includes a controlled comparison exercise.
Keep the result that improves your chosen feature, even if another version looks more complex when enlarged. You do not need to use every setting.
5. Check the saved file where it will be used
Download the finished PNG before leaving the page. Open it at the intended display size, then inspect the attachment preview in the app where you will share it. Check the face, outer crop, and background edges after any resizing.
To compare source and result in one picture, use the tool's comparison download. The source is included in that file, so check that you are comfortable sharing it too. Keep your original and a note of the settings; there is no saved editable project.
Ready for another subject? Choose an annotated example, or browse the full gallery.
Common questions
Do I need to know how to draw?
No. Start with a JPG, PNG, or WebP under 10 MB. The browser generator rebuilds its colors with emoji. Choosing a readable source matters more than drawing skill.
Can I remove the background here?
The background controls change the mosaic background and gaps; they do not isolate a person or remove the original scene. Crop or edit the source in a photo editor before uploading.
Why is the full image clear but my small avatar is not?
At a small display size, several symbols and facial features can blend together. Try a closer crop with one face and fewer background details, then inspect the saved PNG at the avatar size.
Can I return later and keep editing the same project?
Download your result before closing or resetting. The tool does not save an editable project for later. Keep the original and note the settings if you want to recreate your work.